Wormhole Airdrop Guide
Overview
Blockchain


Total Raised
$ 225 M
Stage
Mainnet
Investors


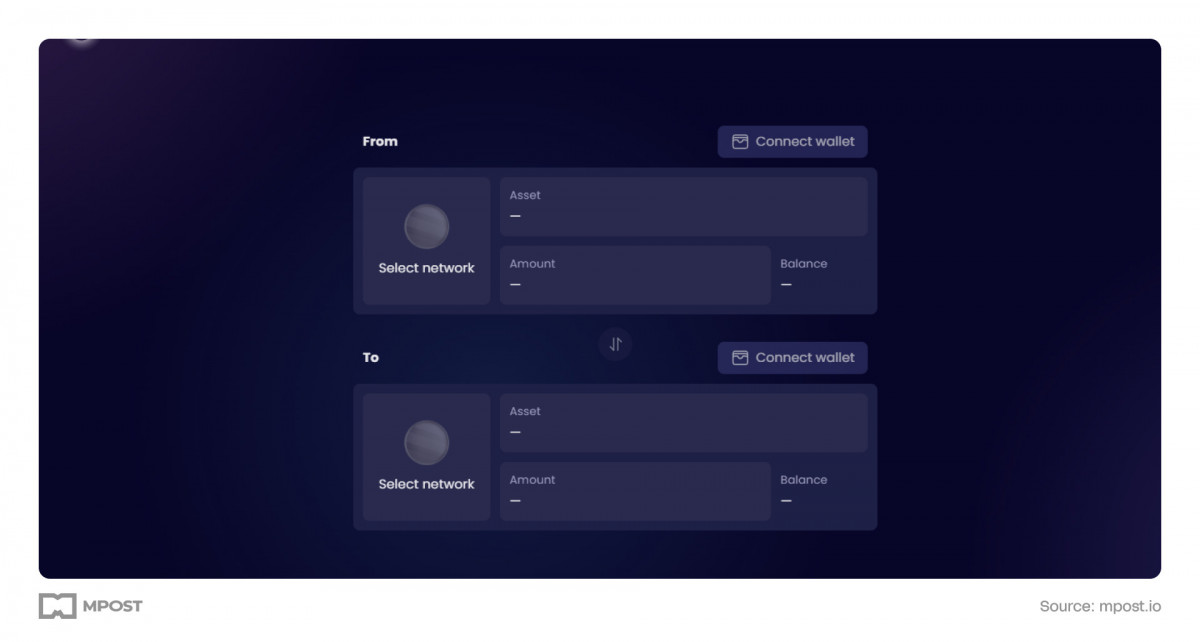
Step 1: Accessing the Portal Bridge
- Start with the official Portal Bridge by Wormhole.
- If you run into any issues accessing the website, try using a VPN service.
Step 2: Switching to Advanced Tools
- When you're on the Portal Bridge website, enable the advanced version by selecting the 'Advanced Tools' button.
- This upgraded version provides a more user-friendly interface for the process of token bridging.
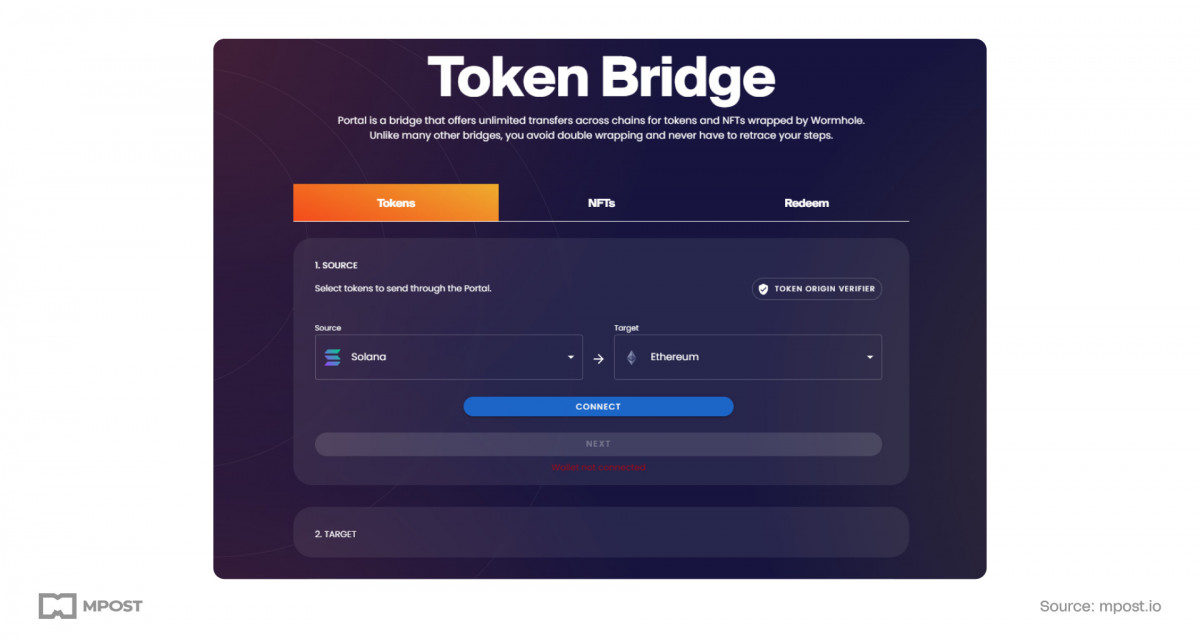
Step 3: Transferring Tokens from Binance Smart Chain (BSC) to Arbitrum
- Select Binance Smart Chain as your source network while choosing Arbitrum for your destination.
- Click “Connect” to link your wallet.
- If your wallet is on the incorrect network, a prompt will guide you to switch it.
- Pick the USDC token, specify how many you'd like to move (for example, 100 tokens), and hit 'Next'.
- You will be asked to switch the network to Arbitrum. Make that switch and click 'Next'.
- Authorize the transfer of 100 tokens and confirm your transaction.
- Once the transfer is successful, click 'Redeem Tokens' and validate the transaction in Arbitrum to receive your tokens.
Step 4: Moving Tokens from Arbitrum to Solana
- Make sure you have a Phantom wallet ready and that you're logged in with notifications turned on.
- Connect your wallet to the Arbitrum network.
- Select the USDC tokens that you just claimed in Arbitrum.
- Enter the amount to bridge and click on 'Next'.
- Link your Solana wallet (Phantom) to the process.
- Hit 'Create Token Account' and confirm the creation within your Phantom wallet.
- Approve the transfer on Arbitrum and wait for it to finalize.
- If you can't see the 'Redeem Tokens' button, navigate to the 'Redeem' tab and input the transaction hash to access it.
Step 5: Transferring Tokens from Solana to Aptos
- Designate Aptos as your target network.
- Connect your Solana wallet (Phantom) and choose the token (USDC) you want to transfer.
- Specify the amount to bridge and click 'Next'.
- Ensure your Aptos wallet (Martian Wallet) is connected and has some funds available for transaction fees.
- Authorize the transfer and be patient while the transaction is processed.
- Click 'Redeem Tokens' to receive your tokens on the Aptos network.
Step 6: Transitioning Tokens from Aptos to Polygon
- Choose Aptos as your source network and Polygon as your destination.
- Establish a connection to your Aptos wallet and select the token you wish to transfer.
- Specify the amount to bridge and click 'Next'.
- Link your Polygon wallet (MetaMask).
- Confirm the transfer and validate the transaction.
- Click 'Redeem Tokens' to obtain your tokens on Polygon.
Step 7: Returning Tokens to Binance Smart Chain
- In case your tokens aren't showing up correctly, you can manually add them via their address.
- Transfer your tokens from Polygon to Solana, then from Solana over to Arbitrum, and ultimately back to Binance Smart Chain.
- Following this method guarantees that you retain the same number of tokens, deducting only the transaction fees.
Disclaimer
In line with the Trust Project guidelines Please keep in mind that the information found on this page isn’t intended to constitute, and shouldn’t be perceived as, legal, tax, investment, financial, or any other sort of advice. It's crucial to invest only what you can afford to lose and seek professional financial advice if you have any concerns. For additional details, we recommend reviewing the terms and conditions, as well as the help and support resources made available by the issuer or advertiser. At MetaversePost, we strive for accurate and impartial reporting, but please be advised that market conditions can change unexpectedly.